 Save
Save The first time I made Sopa Azteca was during a thunderstorm that knocked out our power. With just my gas stove still working, I transformed simple ingredients into this soul-warming soup as rain pattered against the windows. The kitchen filled with the earthy aroma of toasted chiles and the sizzle of tortilla strips hitting hot oil became our evening soundtrack. What began as a weather emergency turned into one of my most memorable cooking experiences.
Last winter, my neighbor Maria was feeling homesick for Mexico City, so I invited her over for dinner without telling her what I was making. When she walked in and smelled the familiar aroma of toasted chiles and simmering broth, her eyes lit up with recognition. We sat at my kitchen table, steam rising from our bowls, as she shared stories of her grandmother making this exact soup on rainy afternoons. The simple act of sharing this Sopa Azteca created a bridge between her two homes.
Ingredients
- Dried Pasilla and Guajillo Chiles: These are the backbone of authentic flavor, providing earthy depth rather than heat, and I discovered toasting them first makes an enormous difference.
- Corn Tortillas: Slightly stale tortillas actually work better for frying, getting that perfect crispness that maintains some structure even when the hot broth hits them.
- Panela Cheese: This fresh Mexican cheese keeps its shape when heated and offers a creamy counterpoint to the spiced broth, becoming my preferred choice after experimenting with several varieties.
- Roma Tomatoes: Their concentrated flavor and lower water content create a richer base than regular tomatoes, something I learned after my first watery attempt with beefsteak varieties.
- Fresh Cilantro: Add this at the very end to preserve its bright, citrusy notes that lighten the entire dish and prevent the soup from feeling heavy.
Tired of Takeout? 🥡
Get 10 meals you can make faster than delivery arrives. Seriously.
One email. No spam. Unsubscribe anytime.
Instructions
- Prepare Your Aromatic Base:
- Heat oil in a large pot over medium heat and sauté the chopped onion until it becomes translucent and soft, about 3 minutes. Add the minced garlic and cook just until fragrant, about a minute more - youll know its ready when the kitchen fills with that irresistible garlicky aroma.
- Develop Deep Tomato Flavor:
- Add those chopped Roma tomatoes and cook until they begin to break down and release their juices, about 5 minutes. Youll see them transform from firm chunks to a soft, bubbling mixture that forms the heart of your broth.
- Toast Your Chiles:
- While the tomatoes cook, quickly toast the dried chiles in a dry skillet for 1-2 minutes until they become fragrant but not burnt. This awakens their oils and deepens their flavor - youll know theyre ready when they become slightly pliable and release their distinctive earthy scent.
- Create Your Flavor Bomb:
- Transfer everything to a blender with a cup of broth and puree until velvety smooth. This creates the rich base that gives Sopa Azteca its distinctive character and color.
- Simmer to Perfection:
- Return this vibrant mixture to the pot along with remaining broth and seasonings, then let it gently simmer for 15 minutes. The broth will deepen in color and the spices will bloom, filling your kitchen with an aroma that will draw everyone near.
- Make Crispy Tortilla Strips:
- While the broth simmers, fry your tortilla strips in batches until they turn golden and crisp, about 1-2 minutes per batch. Listen for the sizzle to subside slightly - thats your cue theyre almost done.
- Assemble Your Masterpiece:
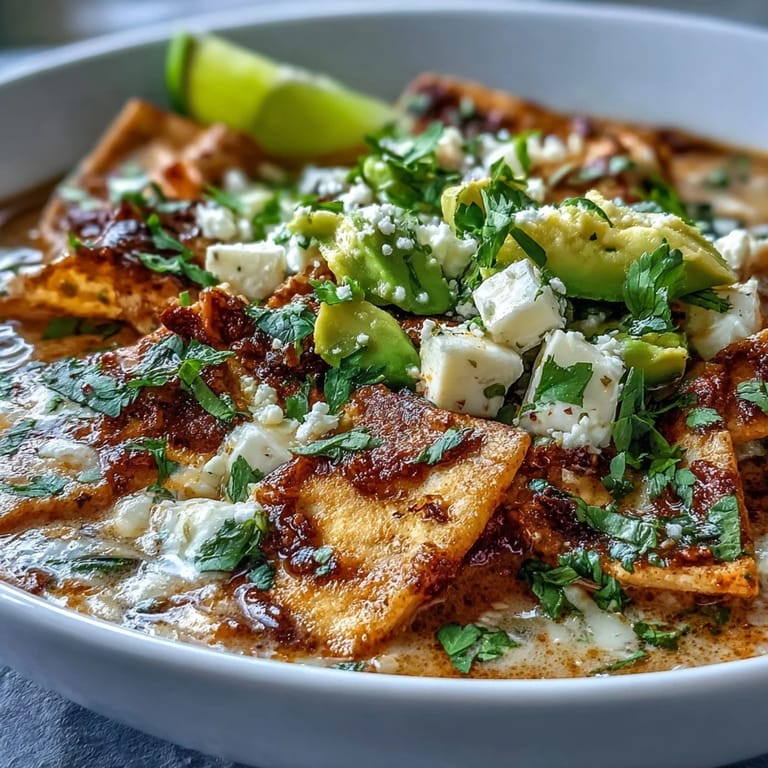
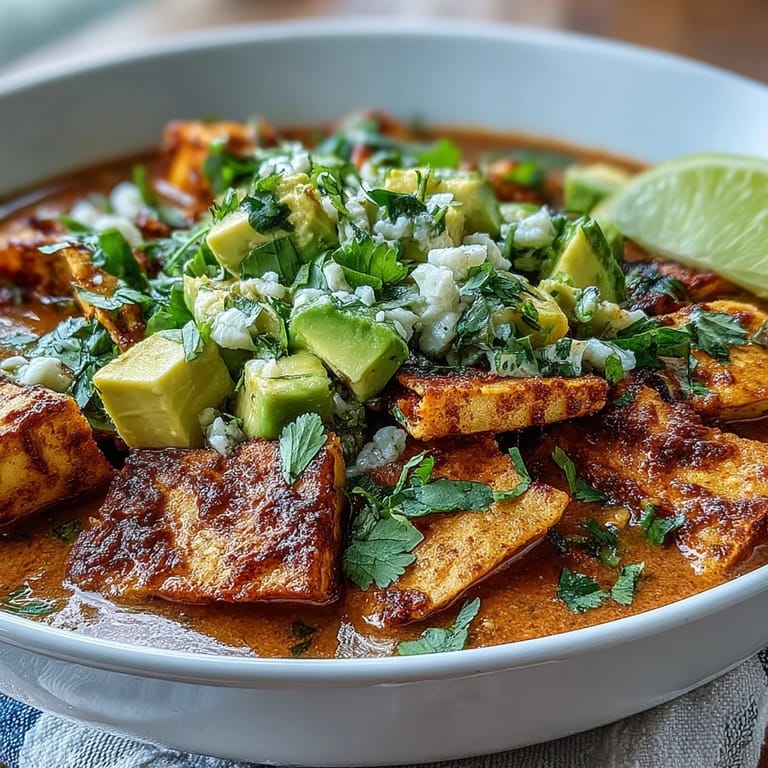
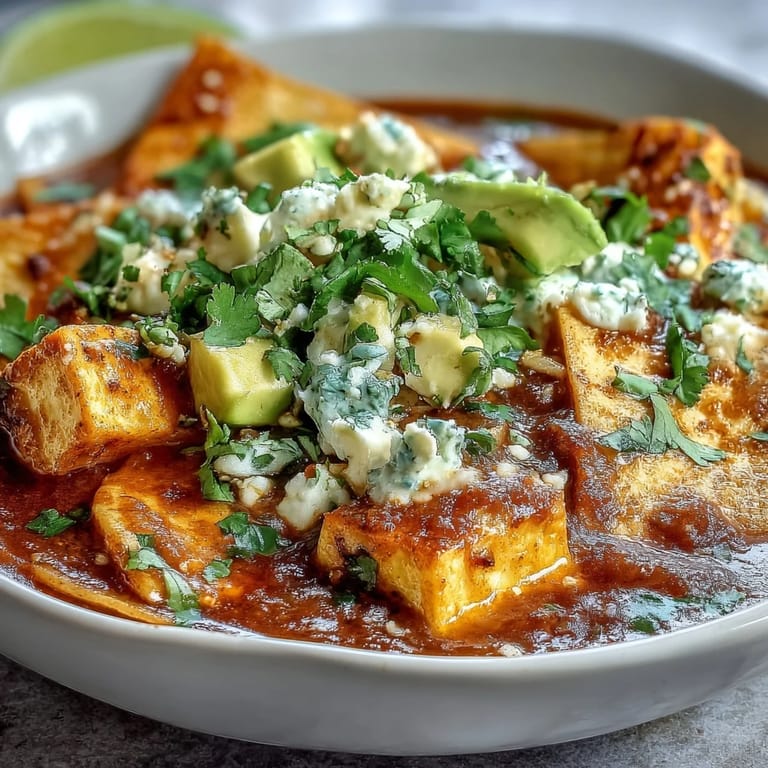
- Layer crispy tortilla strips in each bowl, ladle the steaming broth over them, then arrange your toppings like an artist - cubes of panela cheese slowly softening, chunks of buttery avocado, bright cilantro, and a drizzle of crema creating a beautiful contrast. Finish with a lime wedge that guests can squeeze according to their taste.
 Save
Save On my fortieth birthday, instead of going out, I invited my closest friends over and served this Sopa Azteca as the opening course of our celebration dinner. The rich, smoky broth sparked conversations about travel and heritage as we passed around extra lime wedges and topped off our bowls. What was meant to be just the first course became the highlight of the evening, with several friends dipping their spoons back for more even as other dishes arrived. Food has always connected us, but this particular recipe seems to open hearts along with appetites.
Making It Your Own
After making this soup dozens of times, Ive found its remarkably adaptable to personal preferences and pantry realities. When my vegetarian niece visits, the broth shines on its own, but for my protein-loving brother, I add shredded rotisserie chicken. During summer months when fresh corn is abundant, I often cut kernels from a cob and add them to the broth for the last few minutes of simmering - the sweet pops of corn complement the earthiness of the chiles beautifully. The soul of Sopa Azteca remains intact through these variations, proving good recipes are living documents rather than rigid formulas.
The Art of Garnishing
Ive come to think of garnishing this soup as a form of edible art that affects not just appearance but flavor development. Each component adds something crucial: avocado brings cooling creaminess that tempers the chiles, panela cheese adds salty protein richness, cilantro contributes fresh herbaceous notes, and lime provides that crucial acid that makes everything pop. I keep my garnishes in separate bowls and let guests customize their experience - some prefer extra lime, others double up on cheese. This interactive element makes even weeknight dinners feel special and considered.
Storing and Reheating
Through many batches and leftover experiments, Ive learned this soup actually improves after a day in the refrigerator as the flavors meld and deepen. The key to successful leftovers is keeping components separate - store the broth in one container and all garnishes separately. When ready to serve again, gently reheat only the broth until steaming and prepare fresh tortilla strips if possible.
- The broth freezes beautifully for up to three months, making this a great weekend project that pays dividends on busy weeknights.
- If making ahead for guests, prepare everything up to the final assembly step and store components separately in the refrigerator for up to two days.
- For the best day-after texture, fry a fresh batch of tortilla strips rather than trying to recrisp the soggy ones from yesterday.
 Save
Save This Sopa Azteca has become more than just sustenance in my home - its my culinary comfort blanket, celebration starter, and friendship builder rolled into one steaming bowl. Each time you make it, youll discover something new about the interplay of textures and flavors that make Mexican cuisine so endlessly fascinating.
Recipe FAQs
- → What makes Sopa Azteca authentic?
Authentic Sopa Azteca uses dried pasilla and guajillo chiles toasted and blended into the broth, creating a deep smoky flavor profile essential to this traditional Mexican dish.
- → How do I prevent tortilla strips from getting soggy?
Fry tortilla strips until golden and crisp, then add them to individual bowls immediately before serving. Ladle hot broth directly over the strips just before eating to maintain their crunch.
- → Can I make this dish ahead of time?
Prepare the broth up to 2 days in advance and store it refrigerated. Fry tortilla strips fresh before serving, as they lose their crispness quickly. Reheat broth gently while preparing garnishes.
- → What can I substitute for panela cheese?
Queso fresco, feta, or mild cotija cheese work well as substitutes. These cheeses provide similar texture and mild flavor that complements the spicy broth without overpowering other ingredients.
- → How spicy is Sopa Azteca?
The heat level depends on the chiles used. Pasilla and guajillo offer mild to medium heat. Adjust spiciness by removing seeds and membranes from chiles or adding milder peppers to the blend.
- → Is Sopa Azteca gluten-free?
Corn tortillas are naturally gluten-free, making this dish suitable for gluten-free diets. Always check tortilla packaging for cross-contamination warnings if avoiding gluten is necessary.