 Save
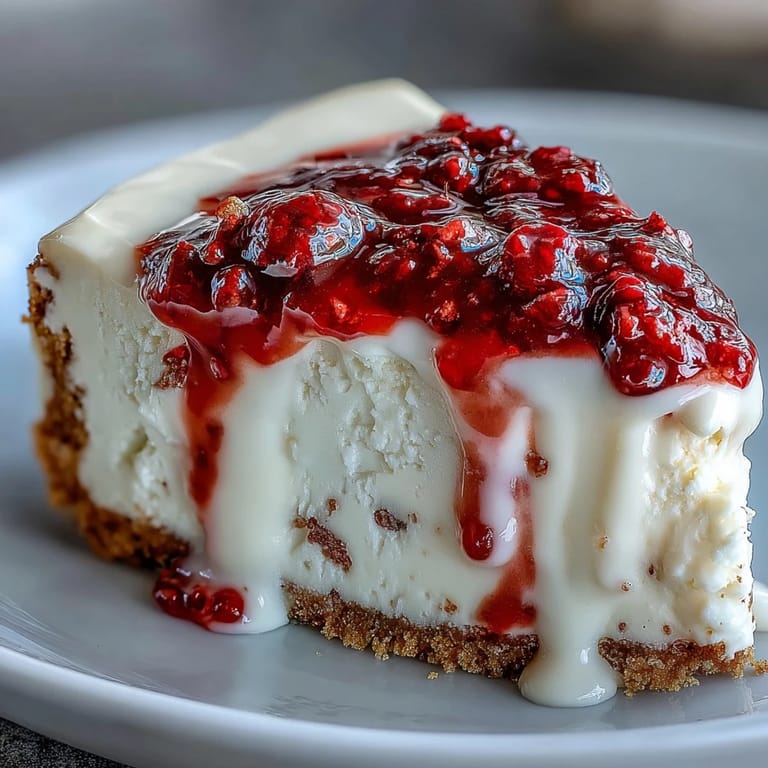
Save The kitchen was warm, the mixer humming steadily, and I was elbow-deep in cream cheese when I realized I'd forgotten to soften it. That first attempt at white chocolate raspberry cheesecake was a lumpy disaster, but the flavor? Absolutely unforgettable. I've since learned that patience and a few smart tricks turn this showstopper into something you can actually pull off on a weeknight. The swirl of tart raspberry against sweet white chocolate is the kind of contrast that makes people lean back in their chairs and sigh.
I brought this to a summer barbecue once, and it sat in the fridge until the sun went down. When I finally sliced into it, the layers were perfect, the swirls intact, and my friend's six year old declared it looked like a marble. That kid took two slices. Everyone else fought over what was left, and I went home with an empty pan and about a dozen requests for the recipe.
Ingredients
- Graham cracker crumbs: The buttery, slightly sweet base that holds everything together, press it down hard or it will crumble when you slice.
- Granulated sugar: Used in the crust, raspberry sauce, and batter to balance tartness and enhance the creamy richness.
- Melted butter: Binds the crust and adds that irresistible toasty flavor you get from a good cheesecake foundation.
- Fresh or frozen raspberries: Tart, jammy, and vibrant, they create the signature swirl and keep the sweetness in check.
- Lemon juice: A small splash brightens the berry sauce and makes the flavor pop without tasting citrusy.
- White chocolate: Melts into the batter for a silky, vanilla forward sweetness that feels indulgent but not overwhelming.
- Cream cheese: The heart of the cheesecake, make sure it is completely softened or you will end up with lumps no amount of mixing can fix.
- Eggs: They give structure and that signature custardy texture, but do not overbeat them or the top will crack.
- Vanilla extract: A warm, subtle note that ties the white chocolate and cream cheese together beautifully.
- Sour cream: Adds tang and extra creaminess, balancing the richness of the chocolate and cheese.
- Heavy cream: Loosens the batter just enough to make it pourable and luxuriously smooth.
Tired of Takeout? 🥡
Get 10 meals you can make faster than delivery arrives. Seriously.
One email. No spam. Unsubscribe anytime.
Instructions
- Prep the pan and preheat:
- Set your oven to 325°F and grease a 9 inch springform pan, then line the bottom with parchment paper. This small step prevents sticking and makes removing the cheesecake so much easier later.
- Build the crust:
- Mix graham cracker crumbs, sugar, and melted butter until it looks like wet sand, then press it firmly into the pan bottom. Bake for 8 minutes until lightly golden and fragrant, then cool completely before adding the filling.
- Make the raspberry swirl:
- Combine raspberries, sugar, and lemon juice in a small saucepan and simmer for 5 to 7 minutes, stirring often until thick and jammy. Strain out the seeds if you like it smooth, then let it cool while you work on the batter.
- Melt the white chocolate:
- Use a double boiler or microwave in short 20 second bursts, stirring between each until silky and smooth. Let it cool slightly so it does not scramble the eggs when you mix it in.
- Beat the cream cheese base:
- Whip softened cream cheese and sugar until completely smooth and fluffy. Add eggs one at a time, beating gently just until combined, then fold in vanilla, sour cream, heavy cream, and the melted white chocolate until everything is evenly mixed.
- Layer and swirl:
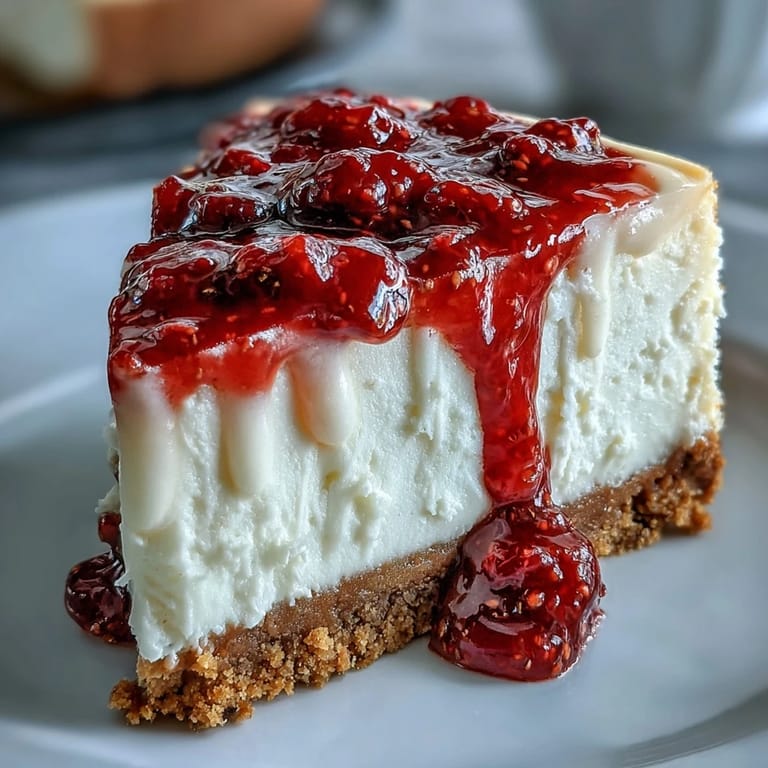
- Pour half the batter over the cooled crust, dollop half the raspberry sauce on top, and swirl gently with a knife. Add the remaining batter, then more raspberry sauce, and swirl again for that marbled look.
- Prepare the water bath:
- Wrap the outside of the springform pan tightly in two layers of foil to seal out water. Set it in a larger roasting pan and pour hot water around it until it reaches halfway up the sides of the springform.
- Bake low and slow:
- Slide the whole setup into the oven and bake for 60 to 70 minutes until the edges are set but the center still jiggles slightly. The water bath keeps the texture creamy and prevents cracks.
- Cool gradually:
- Turn off the oven, crack the door open, and let the cheesecake sit inside for an hour. This gentle cooldown prevents sudden temperature shock and keeps the top smooth.
- Chill and serve:
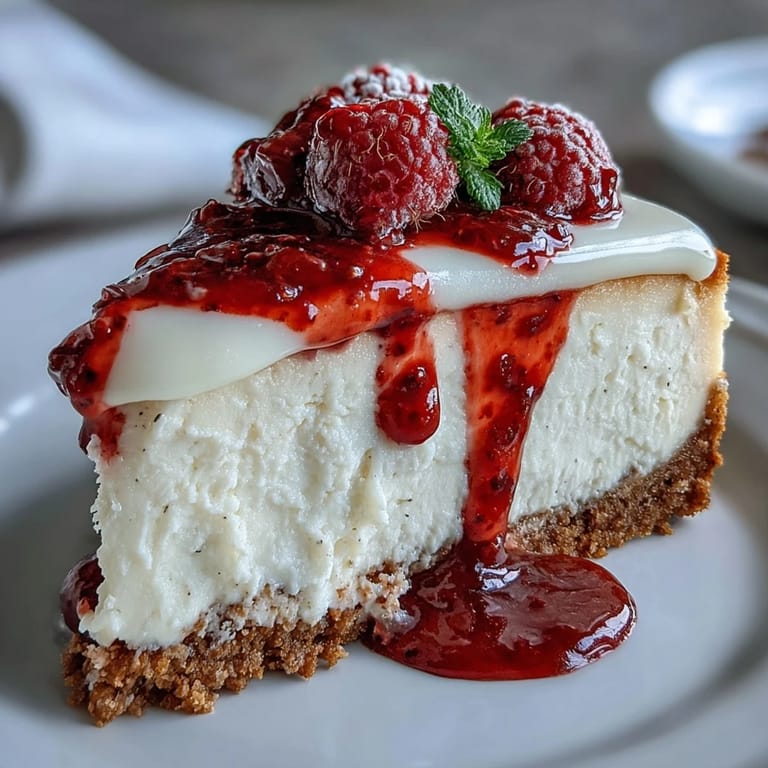
- Remove from the water bath, unwrap the foil, and refrigerate for at least 4 hours or overnight. When ready to serve, release the springform, top with extra raspberry sauce or fresh berries, slice with a hot, clean knife, and dig in.
 Save
Save There was a birthday dinner where I served this cheesecake as the finale, and the whole table went quiet after the first bite. Someone whispered that it tasted like a fancy bakery, and I just smiled, knowing it had come together in my tiny apartment kitchen with a hand mixer and a lot of hope. That is when I realized dessert is not just about sugar and cream, it is about creating a moment people remember long after the plates are cleared.
Storing and Making Ahead
This cheesecake actually tastes better the day after you make it, once all the flavors have had time to settle and meld together. Keep it covered in the fridge for up to five days, though in my experience it rarely lasts that long. If you want to freeze it, wrap individual slices tightly in plastic wrap and then foil, and they will keep for up to two months. Thaw them overnight in the fridge, and they taste just as creamy as the day you baked them.
Customizing Your Cheesecake
You can swap raspberries for blackberries, strawberries, or even a mixed berry blend if that is what you have on hand. Dark chocolate works beautifully in place of white chocolate if you prefer something less sweet and more intense. For a gluten free version, just use gluten free graham crackers or even crushed almond cookies for the crust. I have also made this with Greek yogurt instead of sour cream when I ran out, and it turned out wonderfully tangy and light.
Serving Suggestions
This cheesecake shines on its own, but a drizzle of extra raspberry sauce or a handful of fresh berries on top makes it look bakery perfect. I like to serve it with a small dollop of barely sweetened whipped cream on the side, just enough to add a cloud of lightness. A glass of sparkling wine or Moscato pairs beautifully, especially if you are celebrating something special.
- Dip your knife in hot water and wipe it clean between every slice for picture perfect edges.
- Let the cheesecake sit at room temperature for about 15 minutes before serving so the texture is at its creamiest.
- Leftovers make an incredible breakfast with coffee, no judgment here.
 Save
Save This cheesecake has become my go to whenever I want to feel like I have my life together, even when I absolutely do not. It is proof that a little patience and good ingredients can turn an ordinary evening into something worth savoring.
Recipe FAQs
- → How long should I refrigerate the cheesecake before serving?
Refrigerate for at least 4 hours, though overnight is ideal. This allows the flavors to develop and the texture to set properly for clean slicing.
- → Can I use frozen raspberries instead of fresh?
Absolutely. Frozen raspberries work beautifully in the sauce and may actually release more liquid for a thicker consistency. No need to thaw before cooking.
- → Why is a water bath necessary for cheesecake?
The water bath provides gentle, even heat that prevents cracks and ensures a creamy texture throughout. It keeps the oven humid, allowing the cheesecake to bake slowly without overcooking the edges.
- → How do I store leftovers?
Keep refrigerated in an airtight container or cover the springform pan with foil. The cheesecake stays fresh for up to 5 days and actually tastes better on the second or third day as flavors meld.
- → Can I make this cheesecake gluten-free?
Yes. Simply substitute the graham cracker crumbs with gluten-free vanilla wafers or certified gluten-free graham-style crackers. All other ingredients are naturally gluten-free.
- → What can I use instead of white chocolate?
Semi-sweet or dark chocolate creates a delicious variation that balances the tart raspberries beautifully. Milk chocolate also works for a sweeter, more subtle chocolate flavor.